Request time off
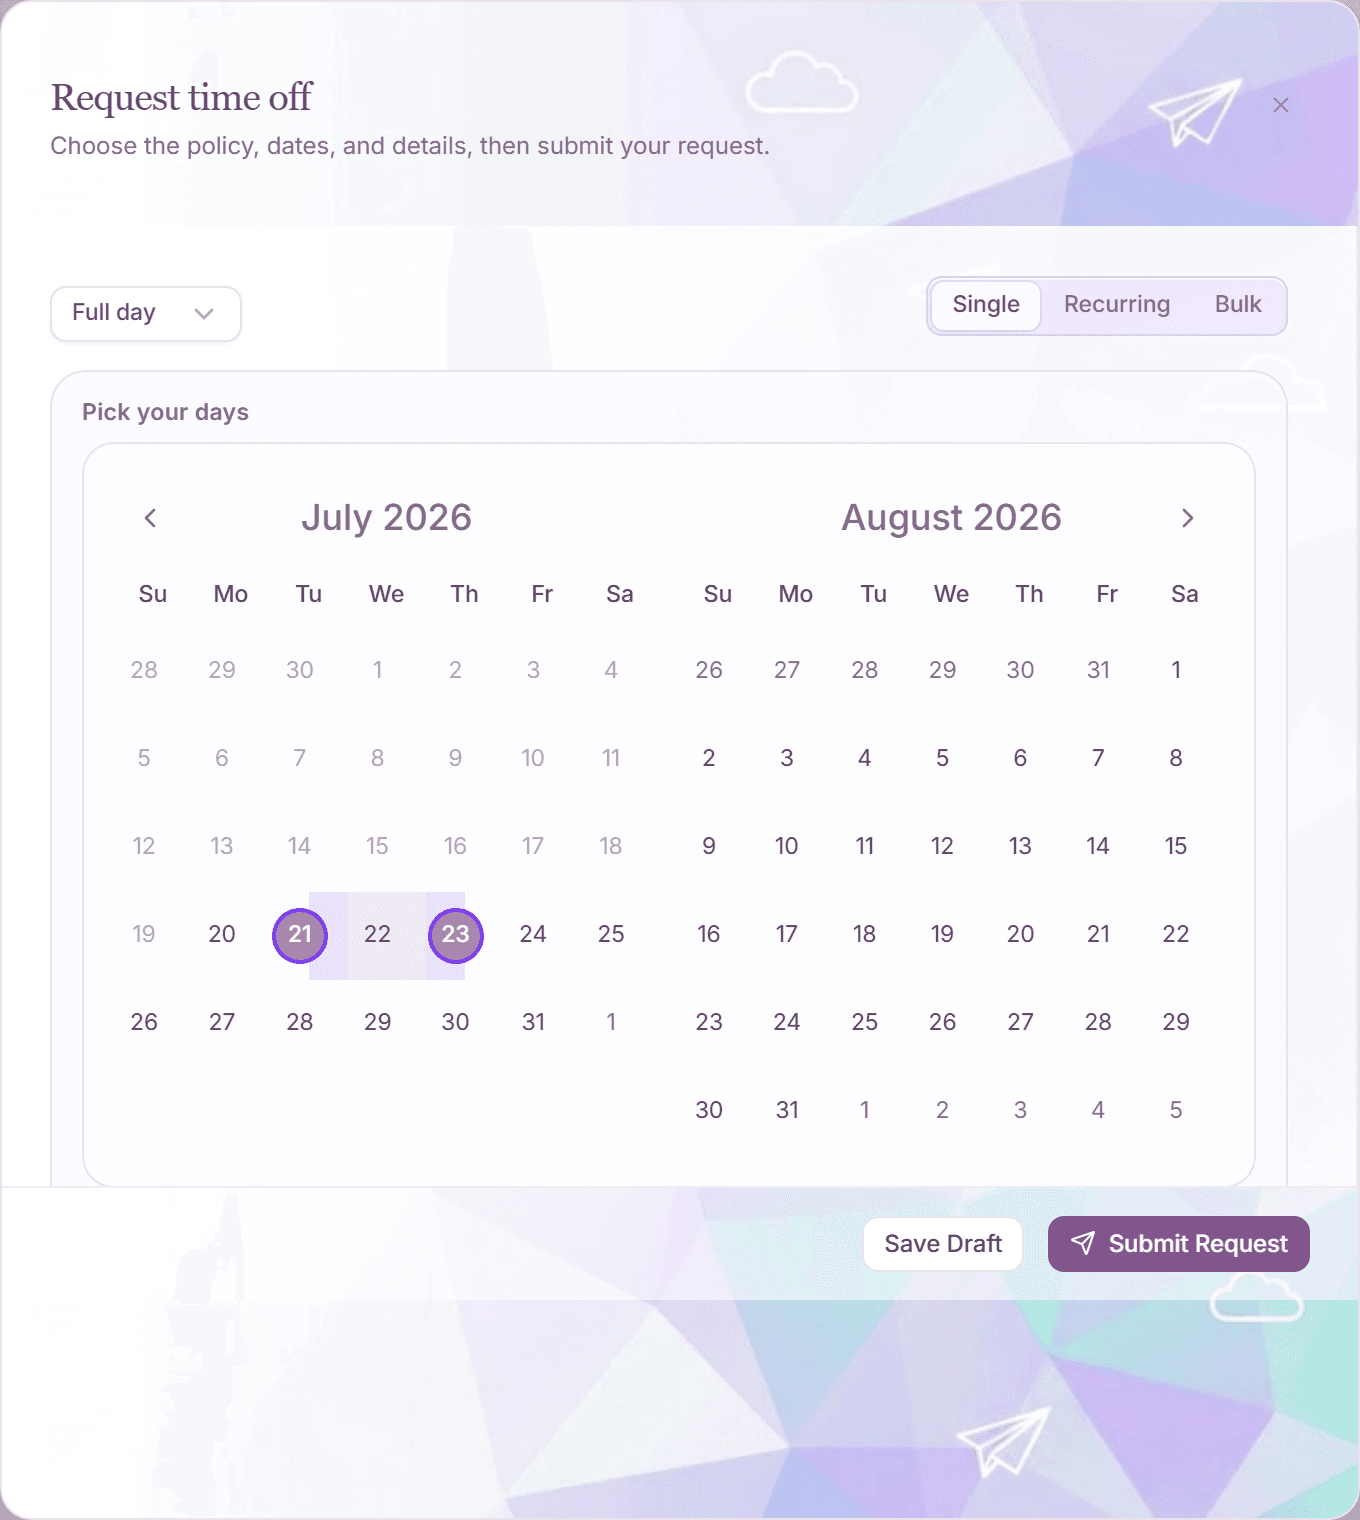
You request time off from your employee dashboard. The "Request Time Off" button sits at the bottom of the calendar sidebar on the right. Everything happens in one dialog: pick the leave type, the dates, and any details, then submit.
The system checks your request against your policy before it reaches your approver, so problems (too little notice, not enough balance, a blackout period) surface immediately with a clear explanation.
Submit a request
- On your employee dashboard, click "Request Time Off" in the right sidebar.
- The "Request time off" dialog opens in Single mode (Recurring and Bulk are covered in their own article).
- Pick the Leave Type.
- Choose the duration: "Full day", "Half day" (when the leave type allows it), or "By the hour" with an hours field.
- Select your dates in the "Pick your days" calendar, a single day or a range.
- Optionally add coverage (a backup person) and a reason for your approver. Some leave types require a reason or a supporting document.
- Click "Submit Request".
A half day always counts as 0.5 day (4 hours). You do not pick morning or afternoon in this version.
What the system checks before submitting
Public holidays and your non-working days are excluded automatically. They never count against your allowance.
- Advance notice: some leave types require requests to start a minimum number of days in the future.
- Available balance: you cannot request more days than you have, unless your policy allows a negative balance.
- Blackout periods: dates your company has blocked show a conflict message with the period's name.
- Waiting period: new hires may need a minimum length of service before using a leave type.
- Duration rules and spending limits: minimum/maximum request length and per-period caps.
- Team coverage: an advisory warning when too many teammates are already out.
Save a draft instead
Not ready to submit? Click "Save Draft". Drafts appear in the sidebar under "Pending or Drafts" and in your History tab. Open one later with "Continue editing" and finish with "Submit Draft".
After you submit
- The request appears as Pending in your sidebar and History tab, and your available balance is reduced by the reserved days.
- Your approver is notified; you get an in-app notification (and an e-mail, if enabled in your profile) when the request is approved or denied.
- You can withdraw a pending request from the sidebar at any time before it is decided.
Frequently asked questions
- Who approves my request?
- Your assigned approver, shown in the "My Approver" card at the top of your dashboard. Companies with multi-step approval chains route the request through each approver in order.
- Can I request dates in the past?
- Only if the leave type allows past-dated requests. Otherwise the calendar blocks past days. Recording a sick day that already happened is always possible through the separate "Record sick" dialog.
- Why is a day I selected not being counted?
- Public holidays and your scheduled non-working days are excluded automatically. The request summary shows exactly how many days will be charged before you submit.